Rates Menu
This menu allows you to create price tables, which can be per season, per month, or per period according to your annual price management.
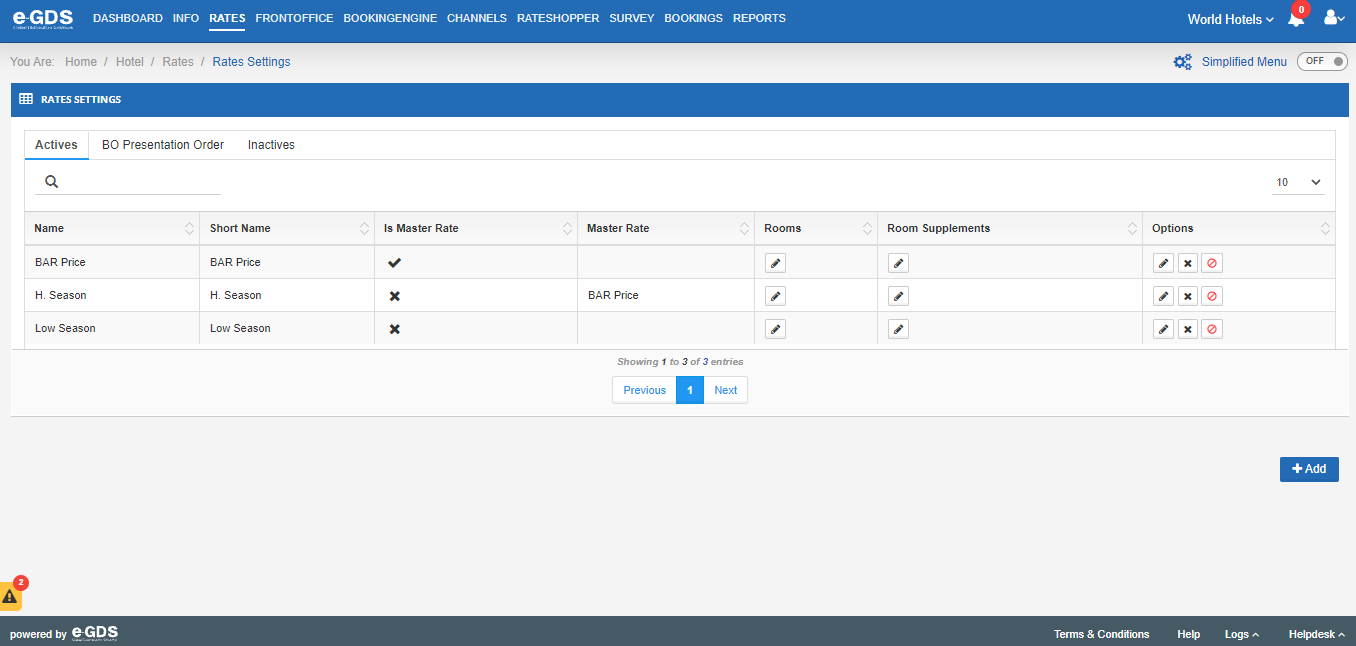
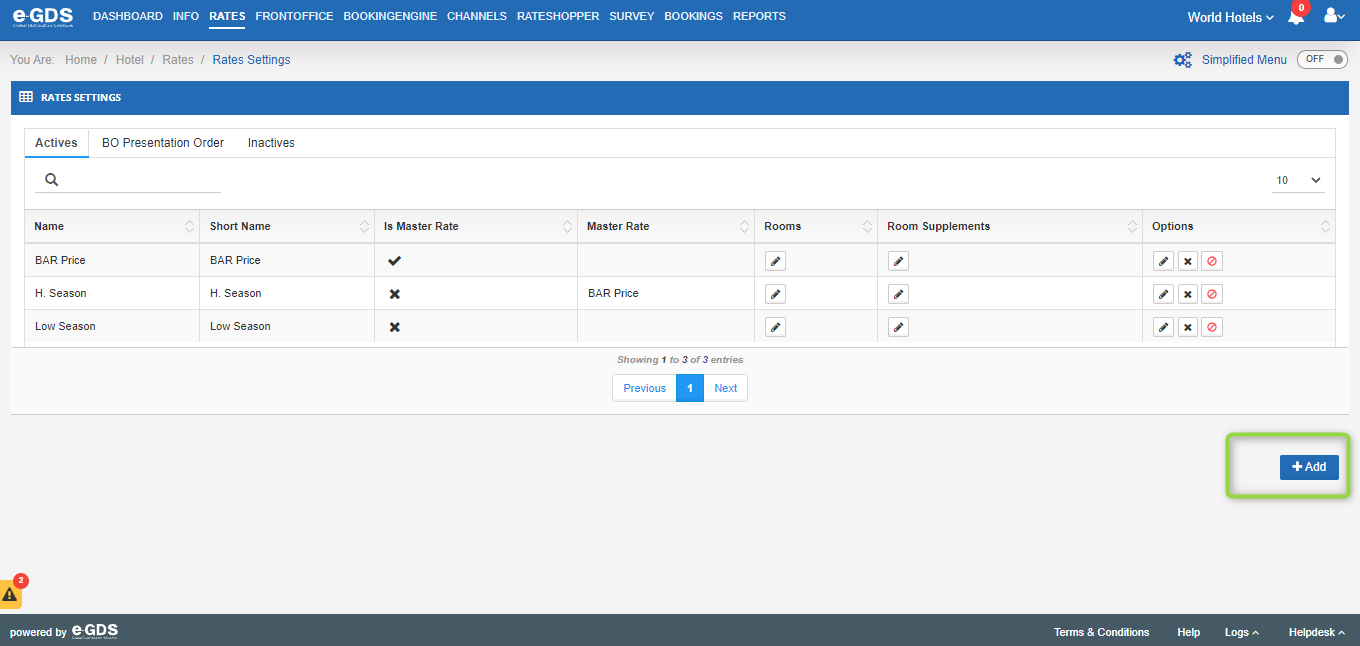
It has 3 tabs available: Active, BO Presentation Order and Inactive
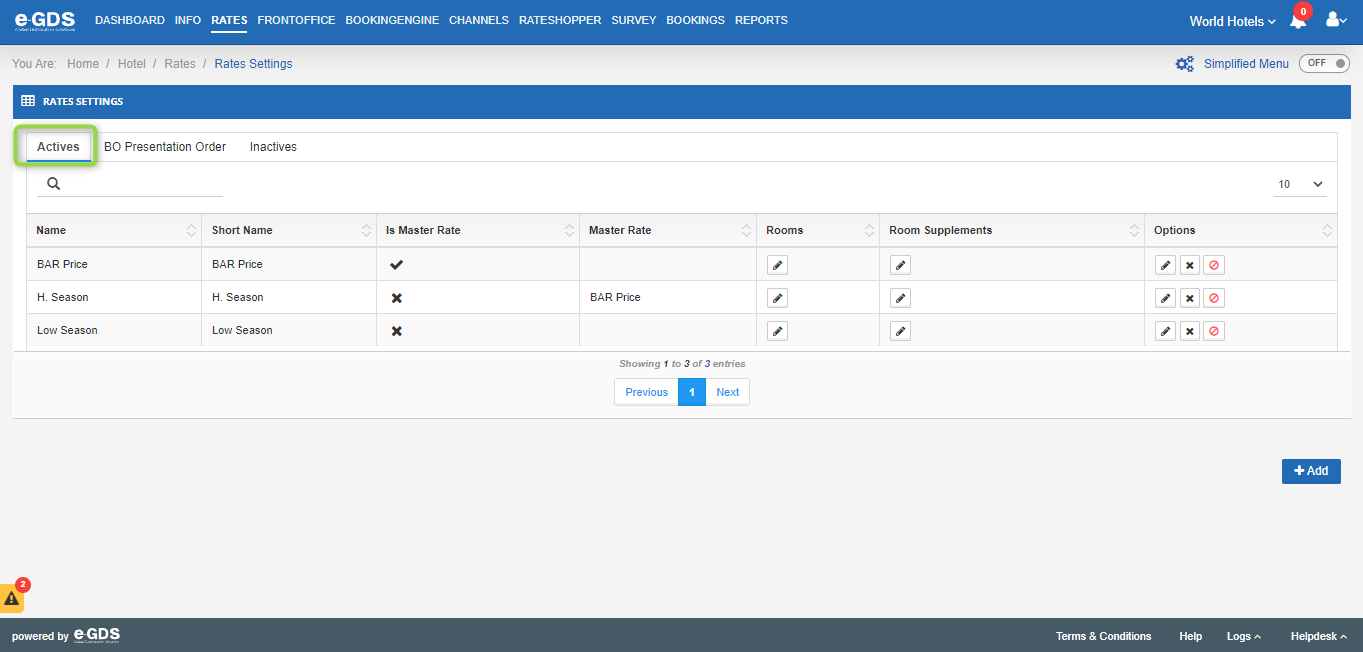
Active Tab – Finds all the tables that are active and in use.
Name – Name that you have associated with the price table.
Profile – Profile to which the price table is associated.
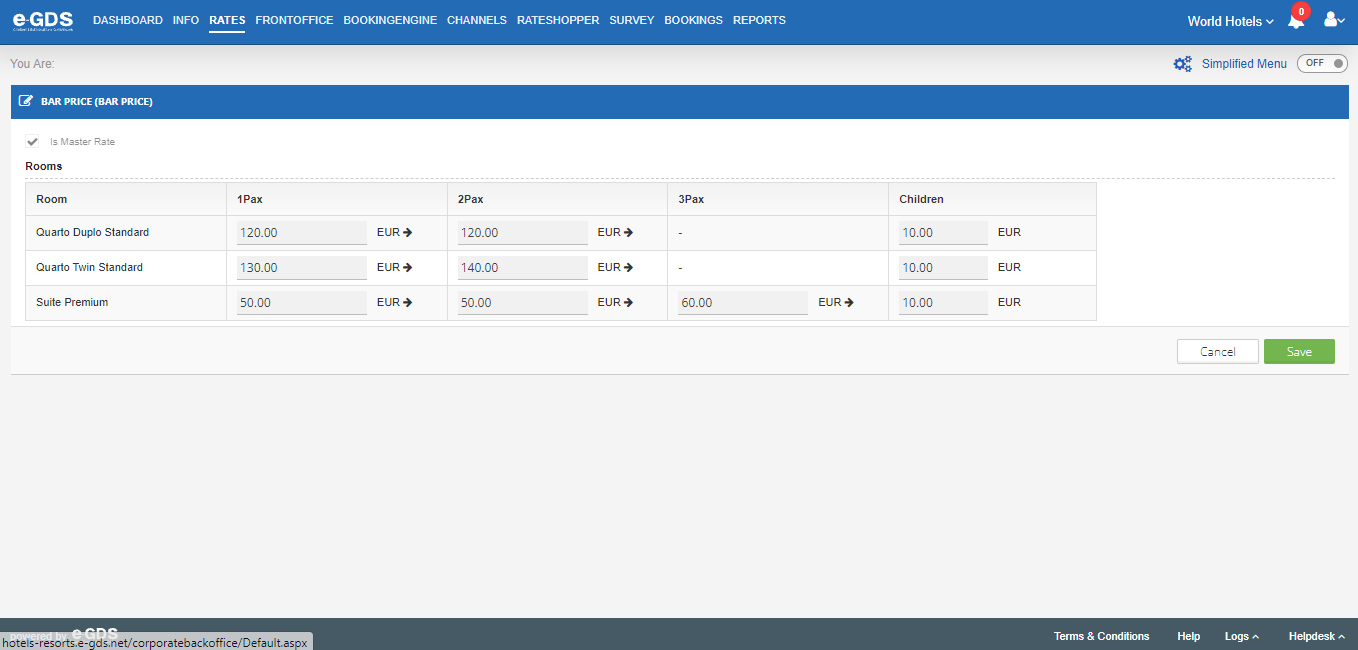
Rooms – In this area you can see/change the values associated to the price table, by room type and occupation.
Room Supplements – Possibility of visualizing/changing the price of the supplements already created. To create a supplement you must go to the Rates Menu – sub-Menu Boards.
Options – In this field you have access to the following options:
Edit – You can edit the price chart by accessing the Pencil,
Delete – clicking on the “cross” deletes the price table.
Deactivate – by pressing the “forbidden” button deactivates the price table. After being deactivated, the price table moves to the Tab – Inactive.
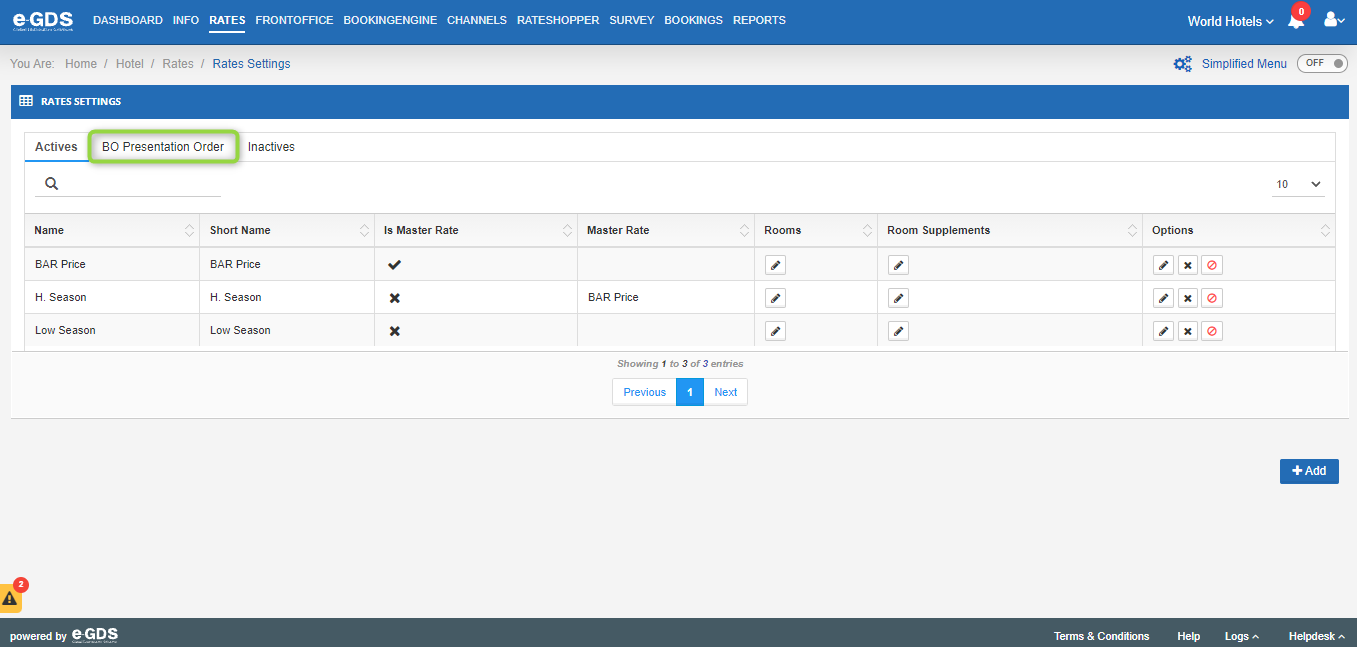
Tab BO Display Order – Possibility to change the order in which the Rates appear.
Display Order – Indication of the order in which the price tables will appear.
Name – Name that you associated to the price table.
Profile – Profile to which the price table is associated.
Options – In this field you can “Give Priority” by clicking on the green arrow, this command means moving the price table to the place above which it is at the moment; or “Take Priority” by clicking on the red arrow, this command means moving the price table to the place below which it is at the moment.
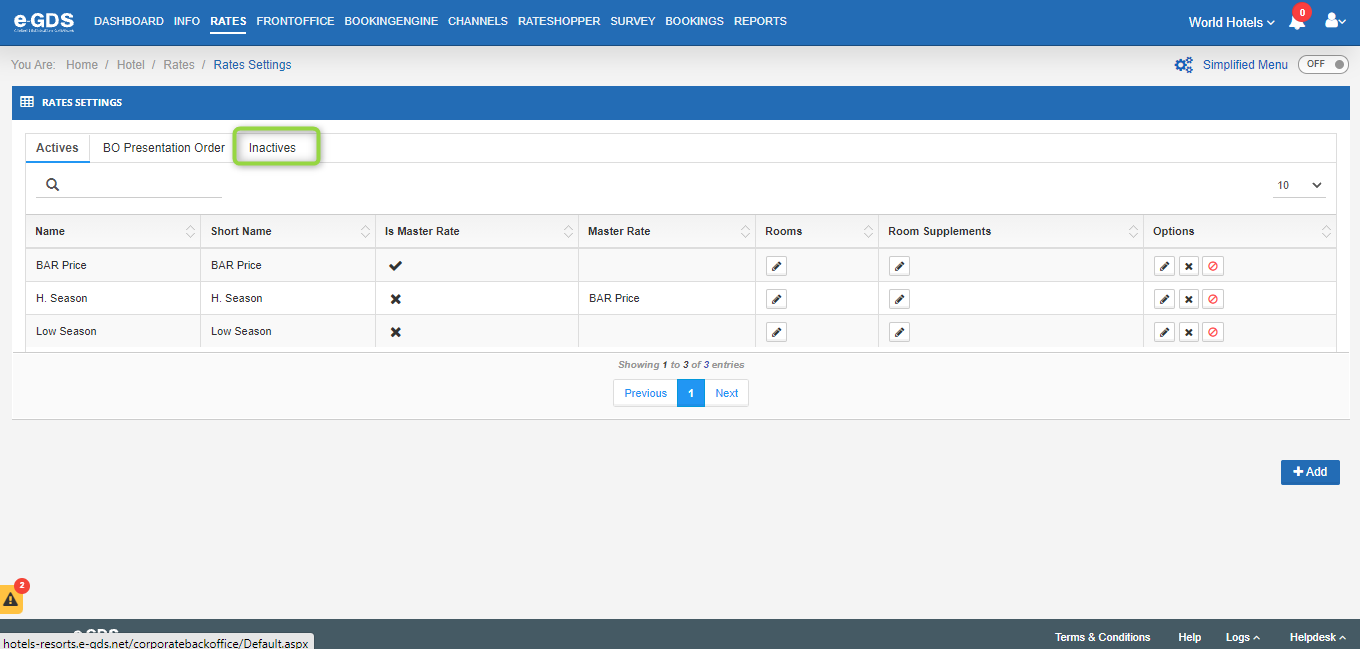
Inactive” tab – there are all the tables that, despite being created, are not being used. You can activate them at any time. To activate a Price Table, in the “Options” field, simply select the green arrow, and the price table in question moves to the “Active” Tab.
To create/add a new Rate Template, you should use the “+Add” command located in the bottom right corner of the page.
ID Rate Template – Indication of the Profile to which you want to associate the new rate table
Rate Template Name – Name assigned to the price table.
Color – Associate a color to the price table.
Days of the Week – You can choose to exclude days of the week, so the prices of this new table won’t be sent.
Start Date and End Date – You must select the period during which you want this price table to be valid and “Add Period”. The indicated periods are to help the price sending operation, that is, whenever you use this table to make a price change, for a date range that has not been indicated in this step, it will give error information since it is for invalid periods.
To finish the creation of the Price Table, just “Save”.
After these steps you must go to the tab “Assets”, to the price table you created and in the column “Rooms” associate the values you want both for the types/occupancy of the rooms and for the supplements.
Note: In this menu you only create the price tables, to put the tables online, you must perform a massive operation to send prices through the Menu “Bulk Operations”.
Questions
My Question